When I first started using Docker, I remember feeling both excited and slightly overwhelmed. The concept of containerization sounded revolutionary, but getting hands-on was the real game-changer. In this tutorial, I’ll walk you through setting up your first Docker container, sharing tips and lessons from my own experience working on various projects.
What is Docker?
Docker is a platform that allows you to develop, ship, and run applications in isolated environments called containers. Think of containers as lightweight, standalone packages that include everything your application needs to run—code, libraries, dependencies, and more.
Why Use Docker?
In my projects, Docker has been a lifesaver for several reasons:
- Consistency: No more “it works on my machine” issues.
- Efficiency: Containers are lightweight and start quickly.
- Scalability: Easy to deploy across different environments.
Prerequisites
Before diving in, make sure you have:
- Docker Installed: Download Docker and follow the installation guide for your OS.
- Basic Command Line Knowledge: Comfort with terminal commands will help.
Step 1: Verify Docker Installation
Open your terminal and run:
docker --versionIf Docker is installed correctly, you’ll see the version number.
Step 2: Pull Your First Docker Image
In one of my earlier projects, I needed a simple web server. NGINX was the perfect fit. To pull the NGINX image, run:
docker pull nginxThis command fetches the latest NGINX image from Docker Hub.
Step 3: Run a Docker Container
Now, let’s run the NGINX container:
docker run --name my-nginx -p 8080:80 -d nginx- –name my-nginx gives your container a name.
- -p 8080:80 maps port 80 in the container to port 8080 on your host.
- -d runs the container in detached mode.
- nginx is the image name.
Step 4: Verify the Container is Running
Check the running containers with:
docker psYou should see my-nginx listed.
Step 5: Access the Application
Open your browser and go to http://localhost:8080. If everything is set up correctly, you’ll see the default NGINX welcome page.
Step 6: Managing Containers
Below are the basic commands to manage the container. There are many more commands, but for now, these are the only ones you’ll need to see how the Docker container works.
Stop the container:
docker stop my-nginxStart the container again:
docker start my-nginxRemove the container:
docker rm my-nginxLessons Learned
From my own projects, here are some key takeaways:
- Clean Up Regularly: Unused containers and images can clutter your system.
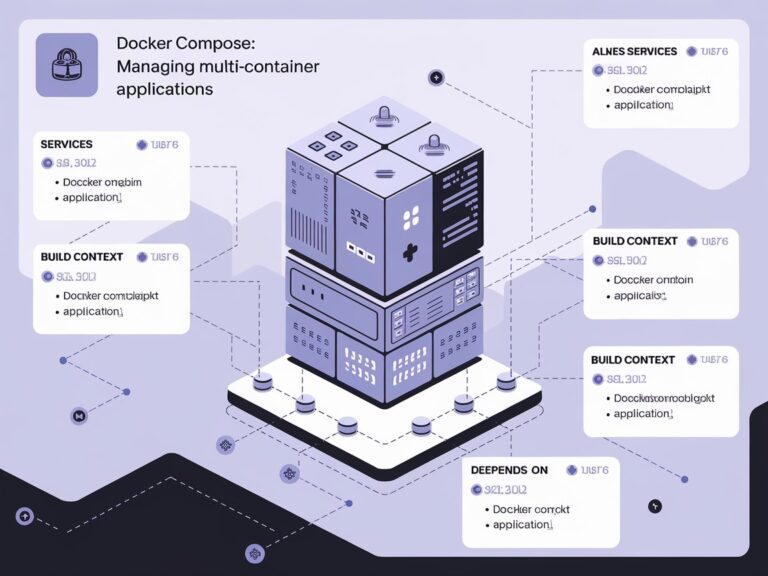
- Use Docker Compose for Complex Setups: It simplifies managing multi-container applications.
- Keep Learning: Docker has many features; don’t hesitate to explore more.
Setting up your first Docker container is just the beginning. There are many more interesting topics about Docker, such as Dockerfile and Docker Compose, which have been a huge help in my projects because they made setting up and managing containers much easier. Additionally, try using Docker in your future projects like I did, the more you use Docker, the more you’ll appreciate its power and flexibility.
I’m also excited to blog about Dockerfile and Docker Compose, but this post would get too long if we cover them now. I’ll be releasing separate blog posts for each soon, so stay tuned!